
How to begin a Flutter application for cross-platform mobile and web development
Flutter is a powerful open-source UI toolkit developed by Google for building natively compiled applications for mobile, web, and desktop from a single codebase. This article will guide you through setting up Flutter in Visual Studio Code and writing your first "Hello, World!" application.
To begin Flutter development, you need to set up your development environment. One of the most popular IDEs for Flutter is Visual Studio Code (VS Code) due to its lightweight nature and extensive plugin support.
Download and install Visual Studio Code for your operating system (Windows, macOS, or Linux).
Visit the official Flutter installation page and follow the instructions based on your OS. After installation, add Flutter to your system path so it can be accessed from the terminal. You can also download Flutter and Dart using the Flutter extension for Visual Studio to make things even easier
Open Visual Studio Code and navigate to the Extensions Marketplace by clicking on the Extensions icon or pressing Ctrl + Shift + X. Search for "Flutter" and install the extension provided by Dart Code. This will also install the Dart extension, which is required for Flutter development. To have the extension install Flutter for you, you may choose to create a project using Visual Studio's command pallate. Press CTRL+SHIFT+P and type (or select) Flutter: New Project. This will cause you to create a new project and the extension will detect if Flutter or Dart are not installed and attempt installation. You will be prompted to select a path to install Flutter. It is important here to avoid a write protected folder.
To create a new Flutter project, open the terminal in VS Code by selecting View > Terminal or pressing Ctrl + `.
Run the following command to create a new Flutter project:
flutter create my_flutter_appReplace "my_flutter_app" with your desired project name.
Navigate into your project directory:
cd my_flutter_appThen, open the project in VS Code:
code .Now that your project is set up, let's modify the default Flutter code to display "Hello, World!".
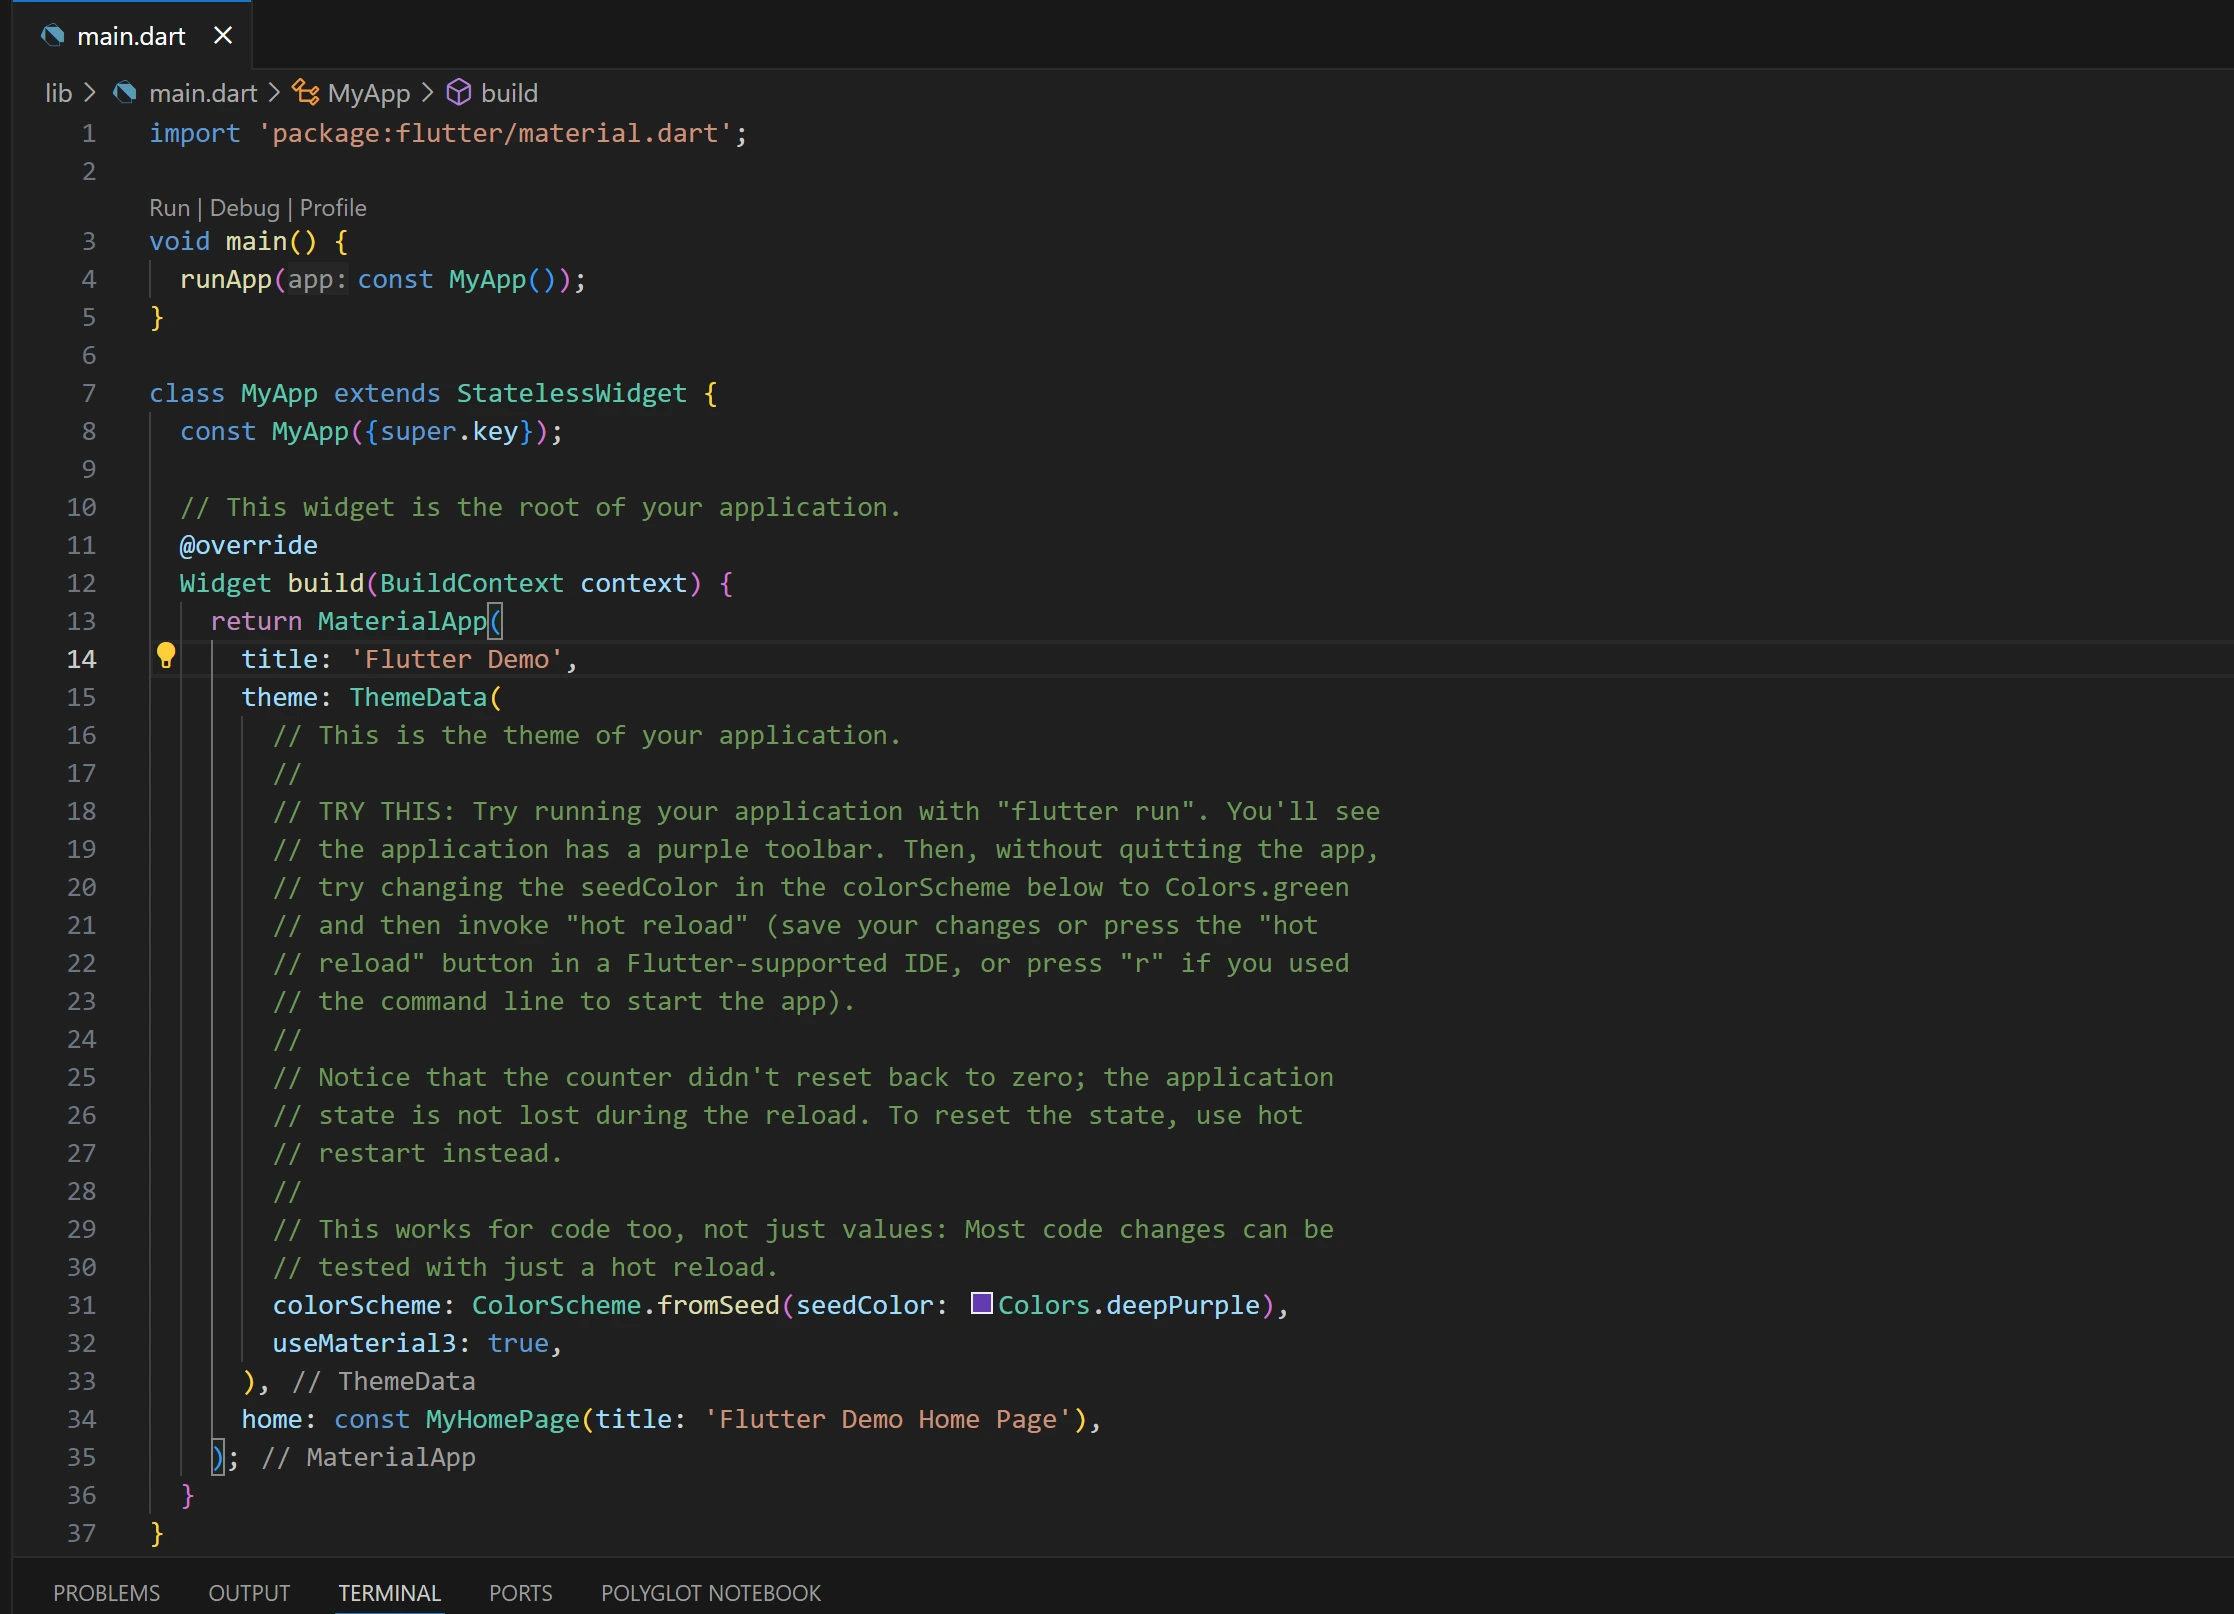
In VS Code, open lib/main.dart. Replace the existing content with the following code:
import 'package:flutter/material.dart';

void main() {
  runApp(MyApp());
}

class MyApp extends StatelessWidget {
  @override
  Widget build(BuildContext context) {
    return MaterialApp(
      home: Scaffold(
        appBar: AppBar(title: Text("Hello, World!")),
        body: Center(child: Text("Welcome to Flutter!")),
      ),
    );
  }
}
To run your Flutter app in a web browser, use the following command:
flutter run -d chromeThis will compile and launch your first Flutter application in a new browser tab displaying "Hello, World!".
Congratulations! You have successfully set up Flutter with Visual Studio Code and created your first Flutter app. This is just the beginning; Flutter provides numerous widgets and features to help you build stunning applications.
*The included picture shows the example flutter app that can be deployed when starting a new project
Company: ImportLearn
Published Date: Sat Feb 01 2025 00:00:00 GMT+0000 (Coordinated Universal Time)
View Team

An introduction to a few concepts needed to understand the exciting world of artificial intelligence (AI).
Read More